What is the first thing we do when we have guests coming around? A big bathroom clean and spritz. It’s hard to feel bathroom pride when the calcium buildup in the tub is making the fixtures look crusty, even when you know they’re as hygienic as the inside of a sanitizer bottle.
If this is something you can relate to and you’re fixing to learn how to remove calcium from shower heads, faucets, and other fixtures, then keep reading! Your old pals Roto-Rooter have over 50 years of experience with all things bathroom-related, and we’ve picked up a thing or two about making them look incredible.
The Secret Recipe for Big Shine
This has to be the very first thing you try! There is no need for expensive specialty chemicals. No need for professional cleaning companies, and definitely no need for hours spent scrubbing your taps till your fingers wrinkle. Follow these easy steps using simple household products, and we’re guaranteed you’ll be impressed with the results:

How to Remove Calcium from Shower Heads:
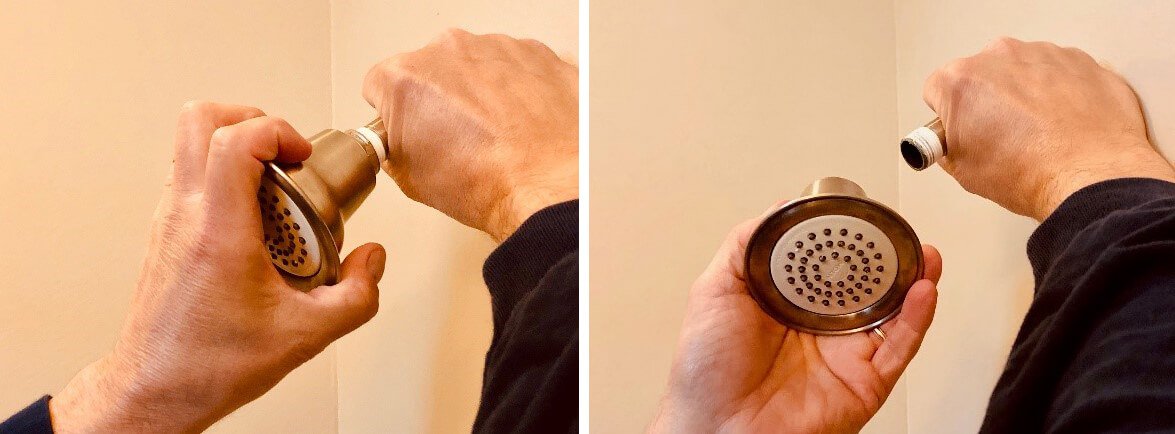
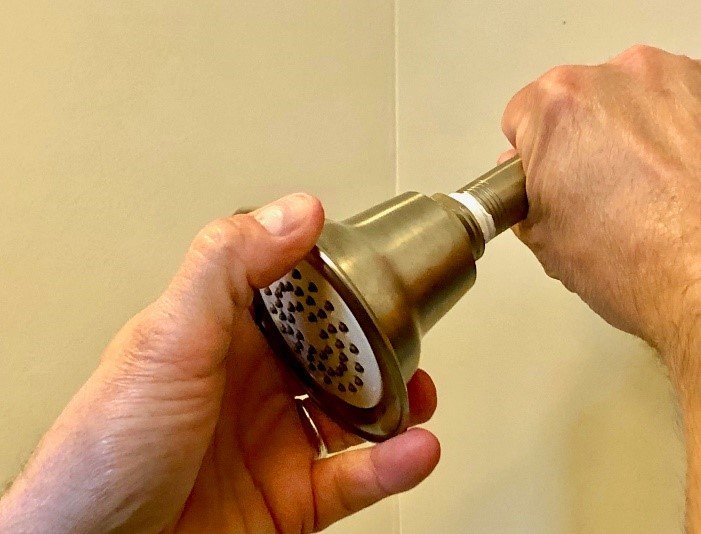
1. Unscrew the showerhead from the shower arm. If it’s too tight, use a wrench or pliers. If you need to, use a soft cloth under the pliers to protect the metallic surface from scratches.
2. Soak in Vinegar: Fill a bowl or plastic bag with white vinegar. Submerge the showerhead in the vinegar and let it soak for at least 30 minutes, or overnight for best results. Vinegar is extremely effective at dissolving chalky mineral deposits and grime.
3. Scrub and Rinse: After soaking, use an old toothbrush to scrub away any remaining residue.
4. Rinse thoroughly with warm water.
5. Reattach the Showerhead: Screw the showerhead back onto the shower arm. Run the water to flush out any remaining vinegar and debris.

To Clean Faucets:
If you’ve encountered calcium buildup in the tub, you’ll probably need to polish up the faucets too. 1. Start by soaking a cloth in vinegar and wrapping it around the faucet.
2. Secure with a rubber band and let it sit for 30 minutes.
3. After soaking, scrub with a toothbrush and rinse well.
Be sure to check out our detailed video guide right here:

Consider Upcycle Solutions
If these cleaning steps still don’t make you feel fabulous about showing off your bathroom, it might be time to consider replacing your showerhead and/or faucets. It is fairly easy to install a shower head, and is a much less drastic step than an entire bathroom renovation. Modern styles can give that facelift your bathroom needs. If you’re feeling bold, there are even some alternatives to the traditional silver; think gunmetal matte black fixtures or even a rose-gold shine. Or—here’s a good idea—this might be the excuse you need to invest in a high-powered, multi-function unit for that indulgent spa feeling.

In With The New
Of course, there comes a time in a shower’s life when it really is time to be replaced. If you’re thinking of more than just a new showerhead, it’s also time to start looking for professional outfitters. We have replaced, renovated, and refreshed scores of new bathrooms and know how big of a project it can be. We also flatter ourselves by thinking we’re pretty good at it too. Practice makes perfect, and, well, we’ve had a ton of practice. Our experienced technicians can handle any installation or repair with precision, and you’ll find our rates extremely reasonable, too.
We hope these points have brought a silver lining to your shower heads and faucets, and remember: we’re always ready to lend a hand and give tailored advice to fit your needs.


